Table of contents
Introduction
Continuing on from the last part of the tutorial where we set up our object logic, now our goal is to wire the code into actual UI elements.
Unity has a built in UI rendering system which makes the job very easy as it also provides us with a way to make parts of the UI follow our camera and scale accordingly.
The full example is located on GitHub.
The foundations
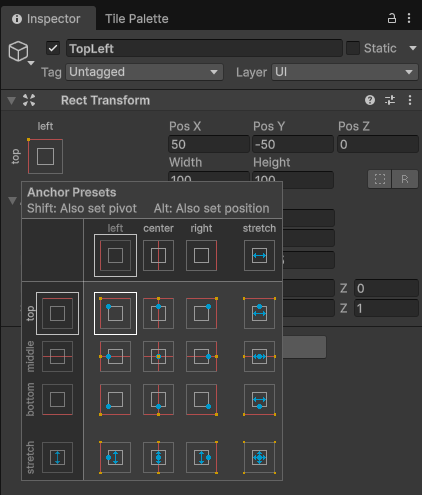
In order to actually add UI elements we need to add a UI Canvas to our scene (UI > Canvas). To group our inventory elements together create a new empty object that will house them, name it TopLeft (Right click on Canvas and press Create Empty) then set it's anchor point to the top left as in the image below:
Next add an image to the TopLeft group so we have a background and paint it gray, you might need to readjust the dimensions of the container and the image to suit your needs.
So far, it should look like this:
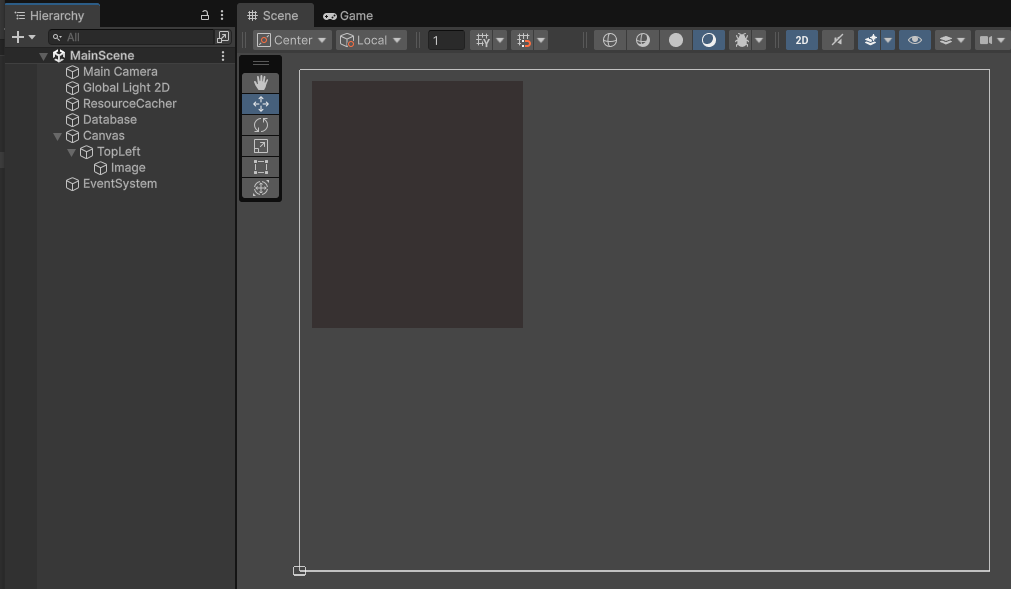
Running the scene now should just display a gray rectangle.
Wiring the other elements
Add another empty object called Inventory and attach the Inventory script to it. Under this object add another one called InventorySlots which will foster the inventory slots for our items.
The InventorySlots object needs to have a Grid Layout Group element with the following properties:
- Cell size: X = 38, Y = 38 (adjust to your liking)
- Spacing: X = 5, Y = 5
- Start corner: Upper left
- Start axis: Horizontal
- Child alignment: Middle center
- Constraint: Flexible
With these settings, the inventory slots should adjust themselves automatically and overflow naturally.
To connect our inventory slot script with the actual inventory slots, we need to make a prefab object since this object will be reused a lot.
Add a new folder called Prefabs and add a new prefab there (Create > Scene > Prefab) called InventorySlot.
This object will need the following elements, so plug them in:
- Rect transform
- Canvas renderer
- Image - paint it black
- Inventory slot script - set the tag to
None - Grid layout group - needs the SAME settings as the layout group we described before
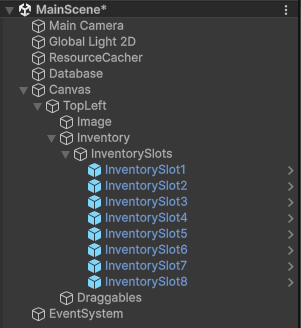
When this prefab is created, drag it from the prefabs folder to the previously created InventorySlots UI object and rename each entry how you see fit, like this:
You might need to play around with the move and scale tool to readjust your UI when these elements are added.
Also add an empty object called Draggables which will be for our dragged items, as we described in the previous entry of the tutorial - this object needs to be plugged into the Inventory object public property named draggablesTransform.
Another prefab we need to create is the InventoryItem since it's going to be used and instantiated a lot.
This prefab will need the following elements to be plugged in:
- Inventory item script
- Image - no need to tweak the default one
- Rect transform - set the anchor point to bottom left
- Canvas renderer
- Canvas group - the properties
InteractableandBlocks raycastsneed to be enabled
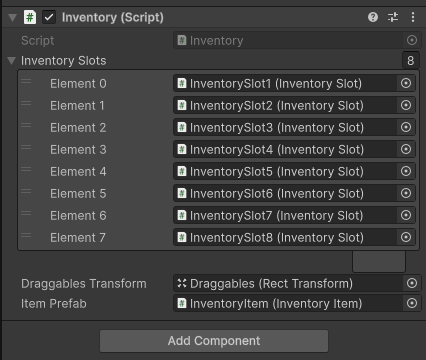
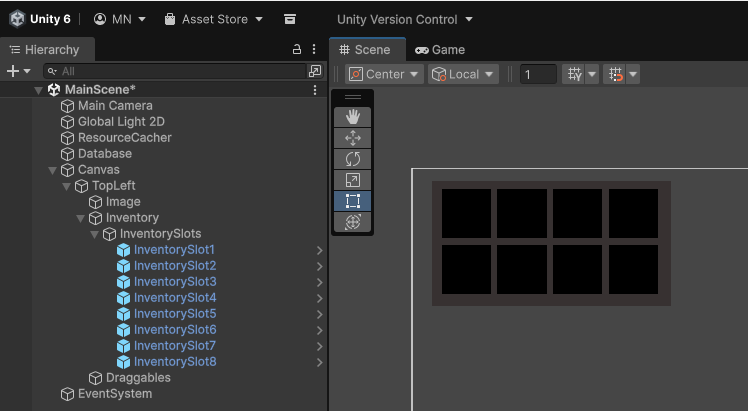
Your Inventory object should look like this after plugging in all the required elements:
And your UI hierarchy should look like this:
Try running the project, if all goes well it should display the following:
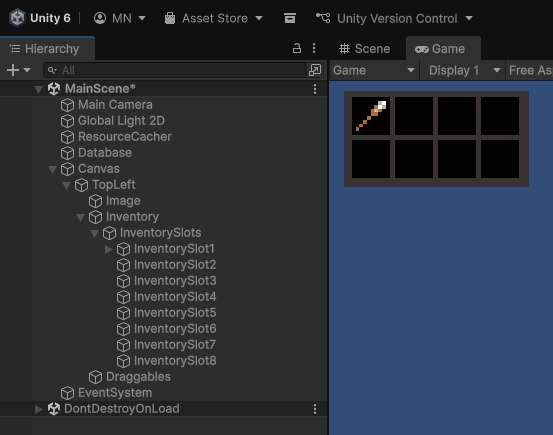
You should be able to drag the item around and place it in different slots.
The hotbar
The only thing that remains is making the hotbar - it is basically the same thing as the inventory but with the parent element anchor being set to the bottom center of the screen.
You can copy the Inventory object we created in the Canvas before, but rename it to Hotbar. The logic stays the same, but you will need to change the tags of the inventory slots to something appropriate e.g. first slot will be Weapon, second will be Ability etc.
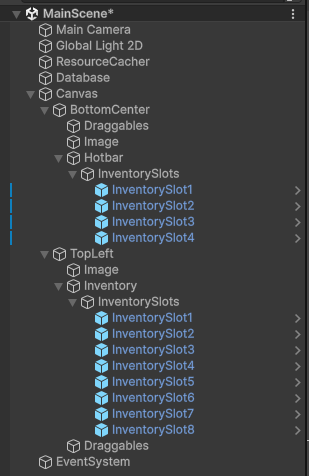
After these changes you should have something like this for instance:
And after running the game:
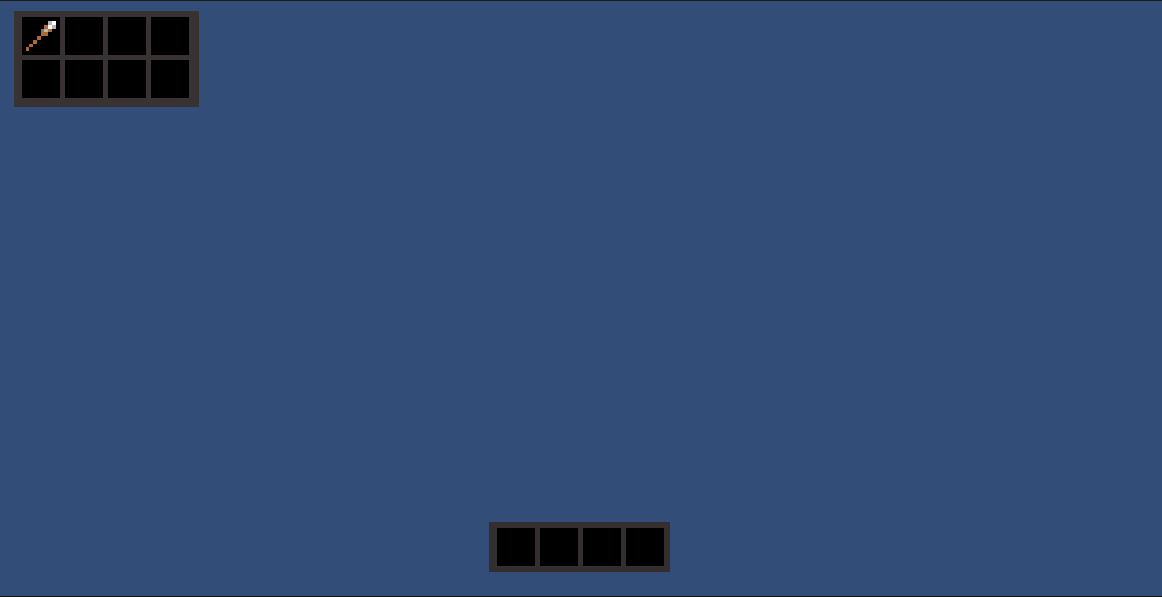
Dragging the items with the wrong tags should not allow you to drop them in the slots if everything is set up correctly.
That about wraps up the third part, in the fourth part we will be doing a tooltip system.